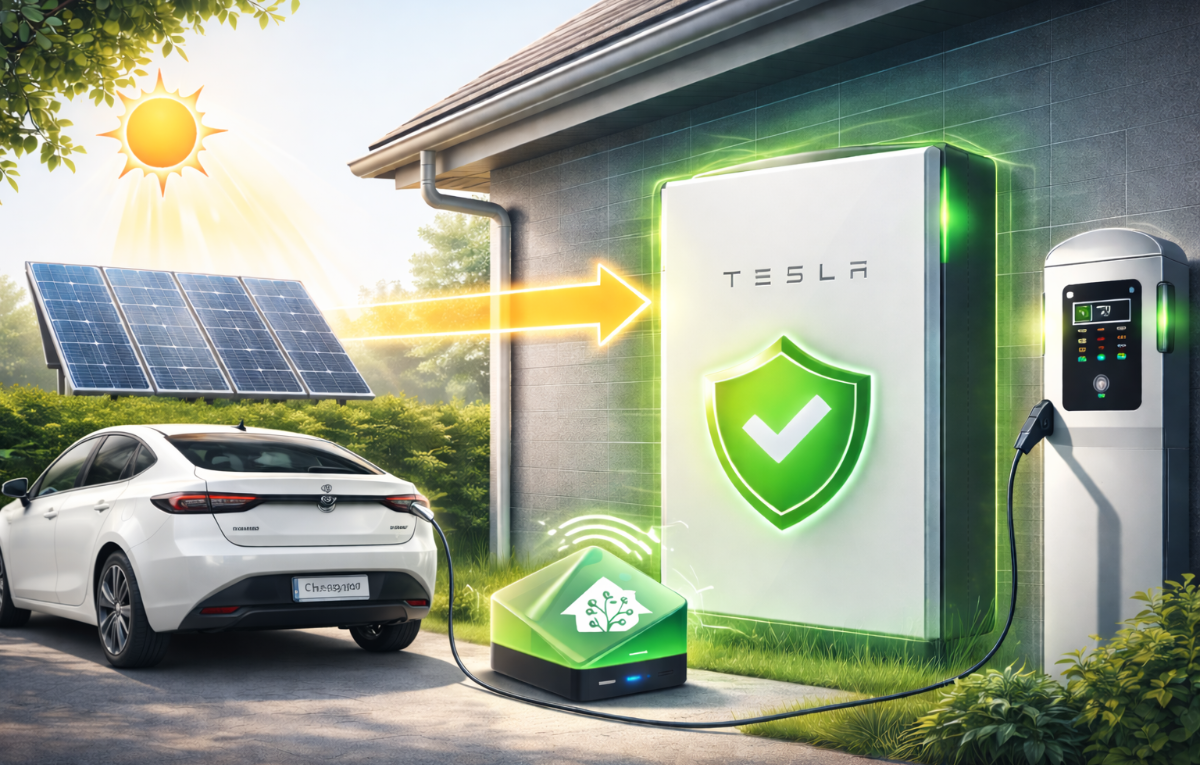
My First Home Assistant Automation: Protecting the Powerwall from Daytime EV Charges
We needed to stop Intelligent Octopus Go from draining our Powerwall during daytime EV charges — without interfering with Octopus's control. Here's how we built our first Home Assistant automation to solve it.
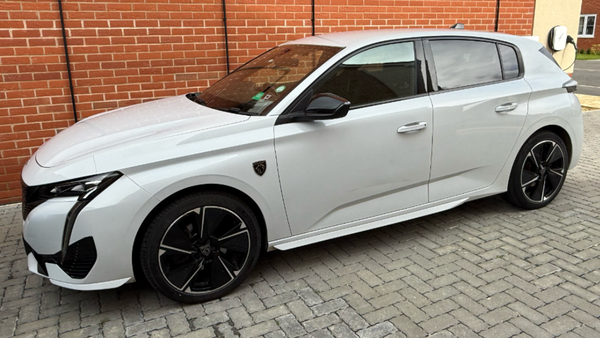
When we switched to Intelligent Octopus Go, it felt like a proper step forward. Octopus takes over control of the Hypervolt (and / or the car - but ours aren't compatible), schedules charging during the cheapest windows, and mostly just gets on with it. But it didn't take long to spot a potential problem — and solving it became our first real Home Assistant automation.
The Problem
Intelligent Octopus Go doesn't just charge overnight. It can schedule additional low rate charging sessions during the day if it spots cheap energy on the grid. That sounds great in theory — cheaper electricity is cheaper electricity, right?
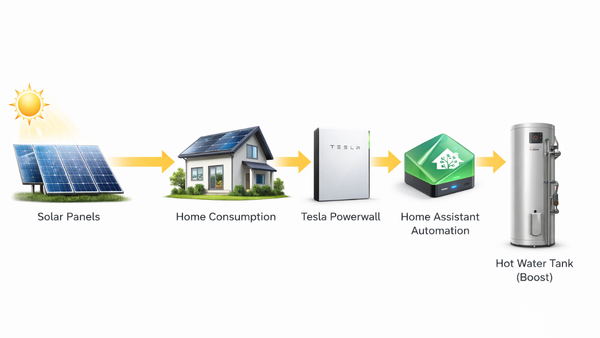
The issue is what happens behind the scenes. Our Powerwall 3 is set up to power the house from stored solar energy whenever possible, only pulling from the grid when it needs to. So when IOG triggers a daytime charge pulling 7.4kW through the Hypervolt, the Powerwall sees that demand and tries to help — draining itself to feed the car (almost all the battery in around an hour!). That's exactly the opposite of what we want. The whole point of the Powerwall is to keep us running on solar and stored energy. Having it empty itself into the car during the day defeats the purpose.
During the standard overnight window (23:30 to 05:30), this isn't an issue. Tesla's own software knows that's a cheap rate period — we've input the rates in the Tesla app — so the Powerwall leaves the grid to handle it. But outside that window, it doesn't know the charge is happening on cheap energy. It just sees demand and responds.
We needed a way to protect the Powerwall from daytime charges without interfering with Octopus's control of the charger. And that last part was important — IOG needs to stay in charge of the actual charging sessions. If you start overriding or pausing charges yourself, you risk breaking the IOG agreement. So stopping the charge wasn't an option. We had to think differently.
The Idea
The Powerwall has a setting called Backup Reserve — a percentage you set that tells the battery "don't discharge below this level, keep it in reserve for a power cut." We normally run ours at 12%.
The logic was simple enough: if Home Assistant detects a charge happening outside the overnight window, push the Backup Reserve to match it's current percentage. That tells the Powerwall to hold onto everything it's got. The car still charges — Octopus is still in control — but the power comes from solar and/or the grid instead of draining the battery. Once the charge finishes, restore the reserve back to 12% and carry on as normal.
There's one quirk. If the Powerwall is between 80% and 99% charged, Tesla won't let you set the reserve above 80%. So in that scenario, the battery can still lose up to 20% during a daytime charge. It's not perfect, but it's a situation we can live with — and it only applies when the battery is already well charged.
Getting the Integrations Set Up
This was our first time installing custom integrations in Home Assistant, so everything was new. We needed three integrations to make this work, all installed through HACS (the Home Assistant Community Store):
Octopus Energy Integration — this gives Home Assistant visibility of our Octopus tariff, including whether an Intelligent Octopus dispatch slot (cheap rate charge window) is currently active. That's the trigger we needed.
Hypervolt Integration — this connects the charger to Home Assistant and lets us see whether a smart charging session is in progress. We used this as a second trigger condition alongside the Octopus dispatch status.
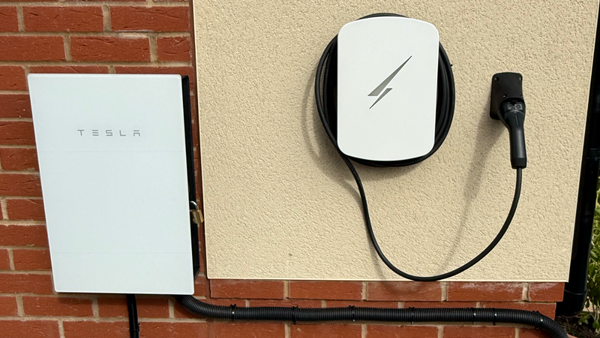
Tesla Integration — this is the one that controls the Powerwall, including the Backup Reserve percentage. It's also the one that gave us the most trouble.
The Octopus and Hypervolt integrations installed and connected without too much fuss. The Tesla integration was a different story. To authenticate, it needed a refresh token — not just a username and password. Finding out how to get that token took a lot of trial and error. We eventually found a site called tesla-info.com that extracts the token by logging you into Tesla's site and pulling it from the authentication flow. Once we had the token, the integration connected and we could see and control the Powerwall from Home Assistant.
Building the Automation
With all three integrations talking to Home Assistant, the automation itself was relatively straightforward. The simplified logic looks like this:
If Intelligent Octopus dispatch is active or the Hypervolt smart control shows a charge in progress, and it's outside the overnight window (23:30–05:30), then set the Powerwall Backup Reserve to match its current percentage.
When the charge ends, restore the Backup Reserve to 12%.
That's it. The Powerwall holds its charge, the car gets fed from solar and grid, and Octopus stays in full control of the charging schedule.
We'll be honest — we used ChatGPT to help with some of the automation setup once we'd figured out the logic ourselves. It worked reasonably well, though it wasn't totally smooth and we still needed to troubleshoot and adjust things manually. But that's part of the process. We worked out what we wanted the automation to do, understood why it needed to work that way, and used AI as a tool to help implement it. That felt like the right approach for a first attempt.
Has It Worked?
So far, yes. It's only kicked in a handful of times — we're still in early spring, so there's not a lot of excess solar currently — but each time it's behaved exactly as expected. The reserve goes up when a charge starts, the Powerwall holds its energy, and everything resets when the charge finishes.
At this time of year, we're not generating enough solar to cover a full 7.4kW charge entirely from panels — that'll come in summer. But the automation still does its job. Whatever solar is available goes to the car, the rest comes from the grid, and the Powerwall stays out of it.
What We Learned
This was our first proper Home Assistant automation, and it took more time than we expected. Not because the logic was complicated — it's actually quite simple — but because everything around it was new. Installing HACS, finding the right integrations, getting them authenticated (especially Tesla), understanding how triggers and actions work in HA's automation editor — it all adds up when you're doing it for the first time.
But here's the thing: having done it once, the next one will be much easier. We now understand how integrations connect, how automations are structured, and how to test them. It's a learning process, and this felt like a solid first step.
If you're running a Powerwall with IOG and a compatible charger, this is worth setting up. Without it, you're potentially draining your battery every time Octopus schedules a daytime charge — and you might not even notice until you wonder why your Powerwall is empty on a day when the sun was out.
What's Next
Now that the battery protection automation is working, there's another idea we're thinking about: solar 'bump' charging.
Octopus has a feature called a "bump charge" — you can manually trigger a charge outside their scheduled windows. It won't be at the cheaper IOG rate, but that doesn't matter if the power is coming from your own solar and battery. The idea is to build an automation that monitors two things: Powerwall charge level and current solar generation. If the battery is above 90% and solar is generating over 2kW, trigger a bump charge through Octopus. The car gets topped up using energy we're producing ourselves rather than exporting it for next to nothing (especially while we're still waiting for our export MPAN). The charge would stop when either the battery drops to a set threshold or solar generation falls below a useful level.
We haven't built this one yet — it's still at the "thinking about it" stage. But the integrations are already in place, so it's really just a case of working out the logic and testing it. We'll write it up once we do.
And if anyone reading this has a similar setup — Powerwall, IOG, Home Assistant — and has found a more elegant way to handle any of this, we'd genuinely love to hear about it. We're learning as we go, and there's almost certainly a smarter approach out there that we haven't thought of. Get in touch — we're all figuring this out together.
If you're just getting started with Home Assistant and feeling a bit overwhelmed — stick with it. Start with one problem you want to solve, work out the logic, and build from there. That's exactly what we did, and it's given us the confidence to do more.